

Trigger Promptless from Jira Automation
Use a Jira Automation flow when the Jira triggers don’t fit your workflow. A flow can start Promptless on a more specific condition. For example, it can run when a ticket is assigned to a specific teammate, or when every ticket in a release is marked done. Jira Automation offers a wide range of triggers, conditions, and actions, so you decide exactly when the flow runs.
The flow sends a web request with the ticket to the Promptless API trigger. Promptless works from the ticket and opens a documentation suggestion.
Choose an identity for Promptless in Jira
Section titled “Choose an identity for Promptless in Jira”Promptless comments on and creates Jira tickets as one of two accounts:
- With an Atlassian service account attached, Promptless posts as the service account.
- Without a service account, Promptless posts comments and creates tickets as the user who connected Atlassian, but only after that user gives explicit approval. Its comments and tickets appear under that person’s name. Without that approval, Promptless can’t comment or create tickets on the user’s behalf.
To assign tickets to Promptless itself, you’ll need to attach a service account as well.
Before you start
Section titled “Before you start”You need:
- Permission to manage automation in the Jira space, or Jira admin access.
- A connected Atlassian workspace.
- A Promptless API key for the flow. An organization admin creates one in Settings > API Access. See Create an API key.
Build the flow
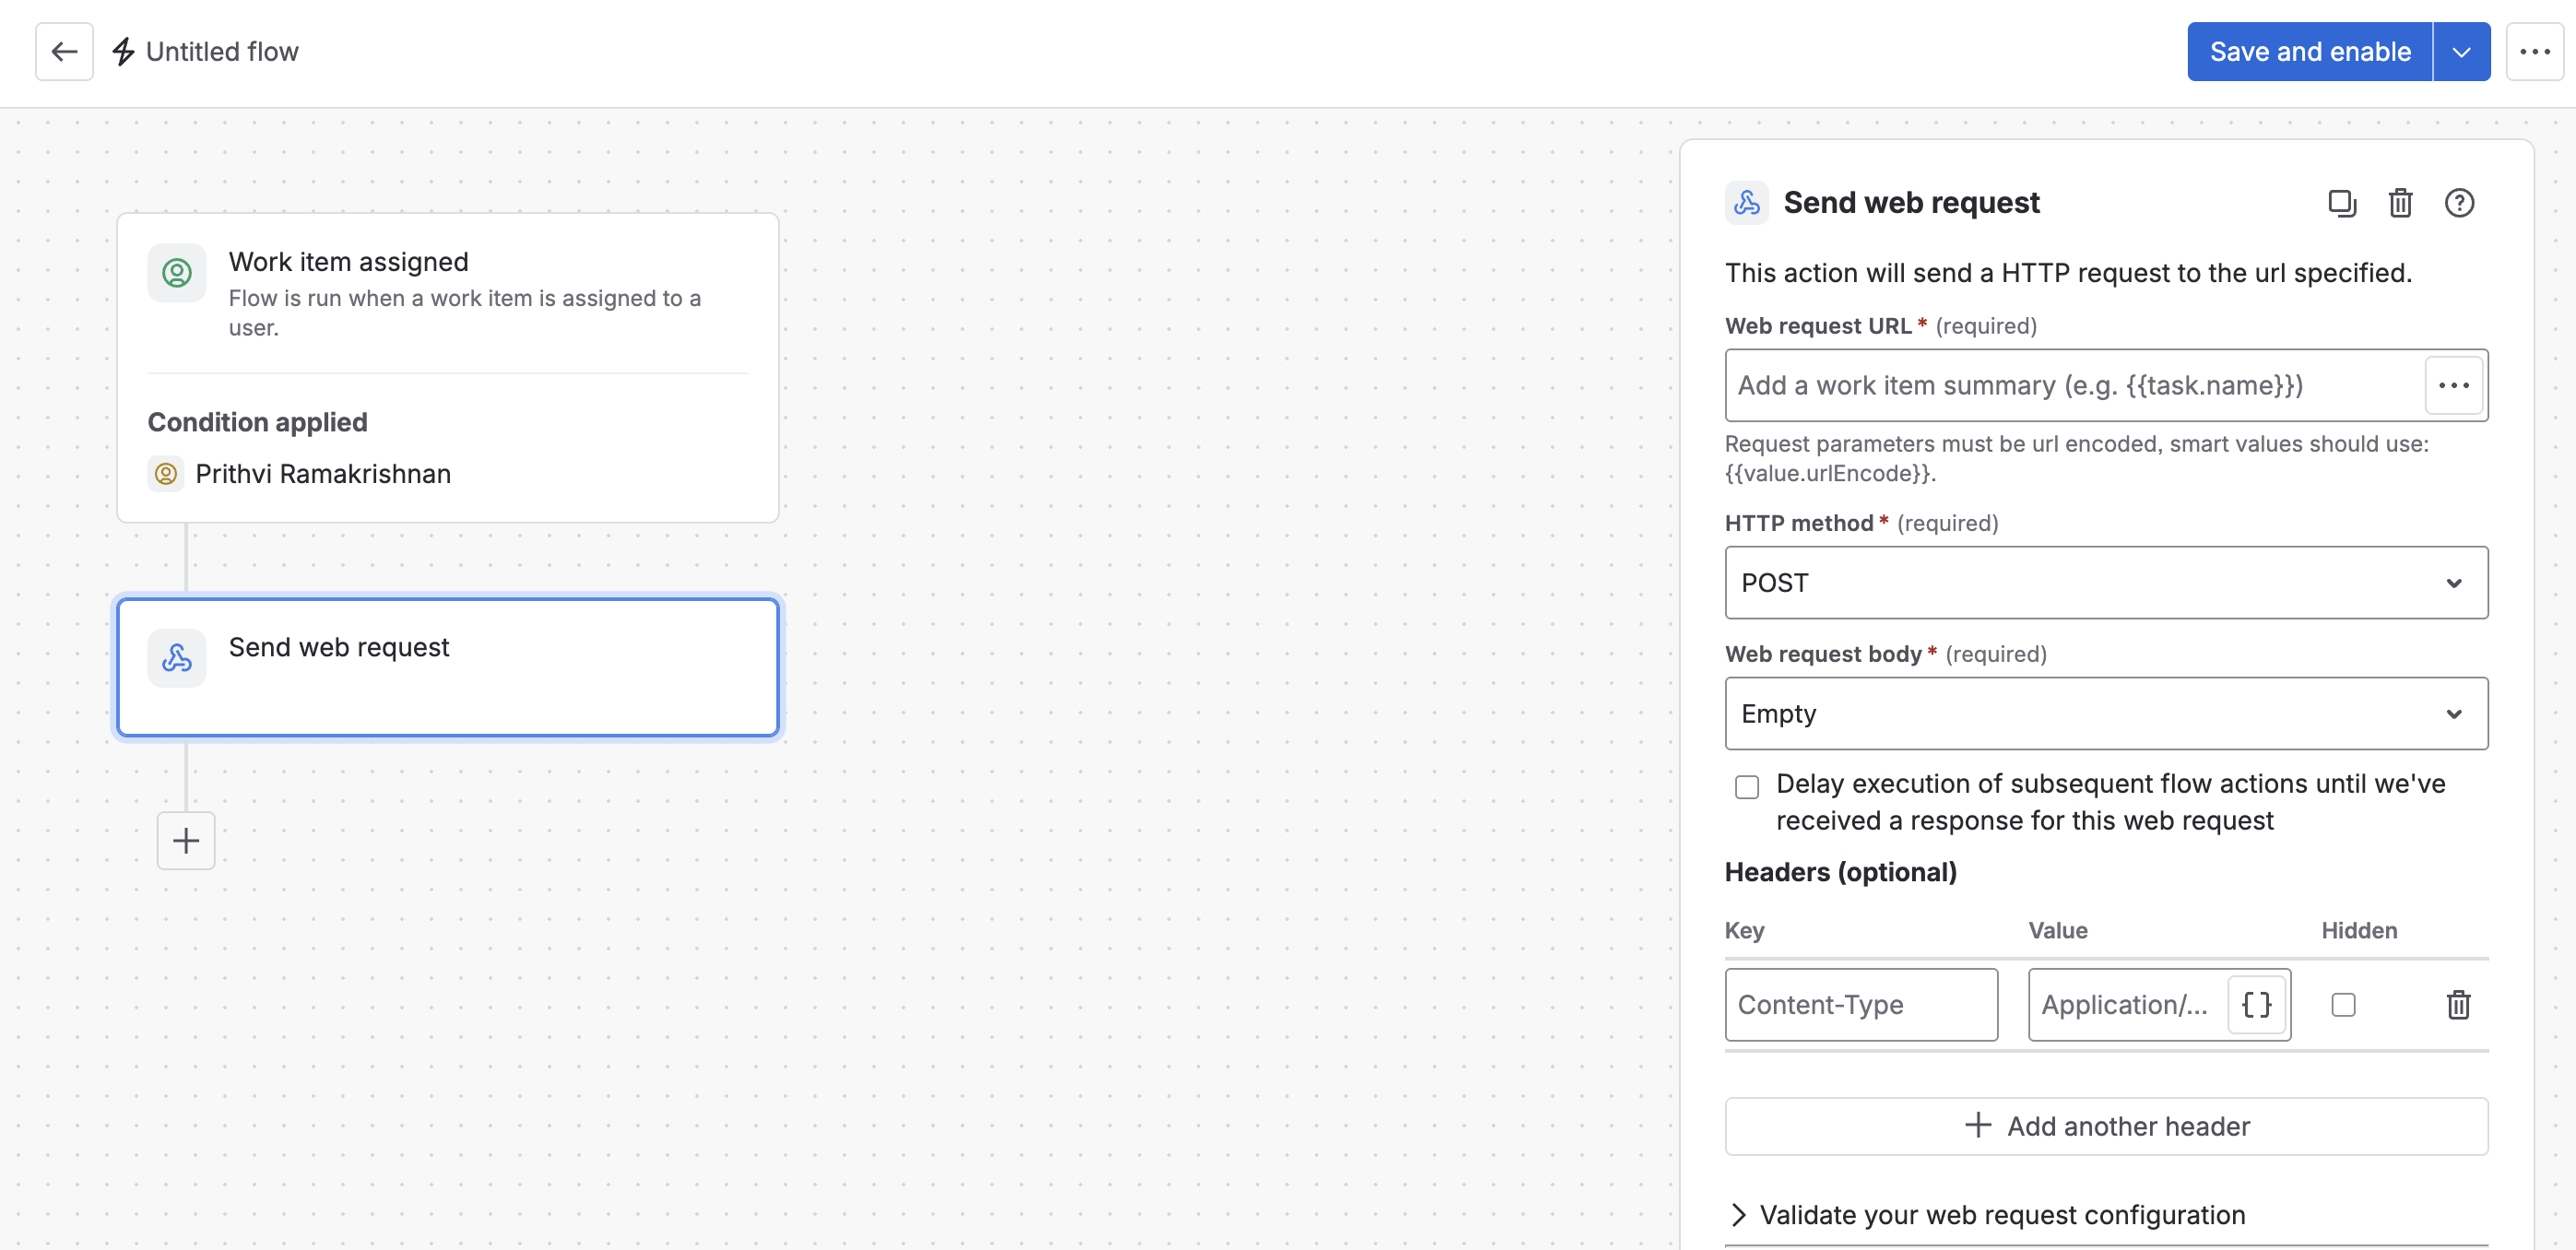
Section titled “Build the flow”This example flow starts Promptless when a ticket in the space is assigned to a docs owner.
-
In Jira, open the space’s Space settings > Automation.
-
Select Create flow > Create from scratch.
-
Add the Work item assigned trigger.
-
In the trigger’s panel, select Add condition and add a User condition. Set User to Assignee, Check to perform to is, and Criteria to the docs owner.
-
Add a Send web request action. Set Web request URL to
https://api.gopromptless.ai/v1/triggersand HTTP method to POST. -
Set Web request body to Custom data, and enter the request body from Request body.
-
Under Headers (optional), add the key
Authorizationwith the valueBearer sk-pl-your-api-key, and select Hidden. -
Select Save and enable.
Request body
Section titled “Request body”{ "instructions": "Update the documentation for Jira ticket {{issue.key}}. Comment on the ticket with a link to the docs PR.", "context": { "jira_issue": "{{issue.key}}", "jira_url": "{{issue.url}}" }}If you want Promptless to know more about your ticket, you can include Jira smart values, such as {{issue.key}}.
instructionsis required and tells Promptless what to do. Name the ticket, and add any standing guidance for this flow, such as which docs to update.contextis optional. It appears with the request in trigger history on the Triggers page.
Confirm it works
Section titled “Confirm it works”To test the action before you save, expand Validate your web request configuration, enter a ticket key, and select Validate. Validating sends a real request, so Promptless starts a session for that ticket.
A request that starts a session returns 202 Accepted:
{ "trigger_event_id": "550e8400-e29b-41d4-a716-446655440000", "deduplicated": false}The request then appears on the Promptless Triggers page with its instructions and context. For any other status, open the flow’s Audit log and see Error responses.